Rudzhan / stock.adobe.com
Whenever you make big changes to your WordPress site, there’s always the risk of something going wrong. The results could range anywhere from a simple but embarrassing mistake, to serious errors that cause downtime for your site.
Fortunately, there’s a solution to this problem. Instead of blindly forging ahead with updates on your live WordPress site, you can create a staging environment to test out new plugins, content edits, or even full website redesigns.
Below, we’ve explained what exactly staging is and why it’s so important. Then, we’ve shared several methods you can use to create a staging environment for your WordPress site or network, including six plugins to help simplify the process. Let’s jump in!
In This Post 🧭
- An Introduction to WordPress Staging and Why It’s Important
- Setting Up a Staging Environment via Your Web Host
- Creating a Testing Site Manually On Localhost
- 6 WordPress Staging Plugins for Test Driving Site Updates
- Using a WordPress Migration Plugin to Create a Staging Subdomain
- WordPress Multisite Staging
- WordPress Staging Methods Compared (table)
- Wrapping Up
An Introduction to WordPress Staging and Why It’s Important ☝️
‘Staging’ is the process of creating a copy of your website to use for development or trial purposes. There are many ways to go about doing this, which we’ll explore later in this post.
The main thing you need to know at this point is that a staging site looks exactly like your live website, but (usually) isn’t publicly accessible.
[bctt tweet=”🏎️ Staging environments are perfect for test driving a new theme or plugin before installing it where your users can see it. #WordPress” username=”thewpbuffs”]
You may even want to try out plugin and theme updates in a staging environment. There are several common WordPress compatibility errors, which can have a negative impact on users’ experiences of your site. You can catch them without impacting your uptime on a staging site.
Other risky tasks, such as editing key WordPress files, can also be practiced on a staging site first. You might also consider testing complete website redesigns or even less dramatic changes that you’re not sure about.
Once you’ve determined your additions, updates, or other changes are fit for your live site, you can ‘push’ them from your staging environment. There are a few methods for accomplishing this, depending on how you created your staging site.
Setting Up a Staging Environment via Your Web Host 🖥️
Before you start looking into WordPress staging plugins, you might want to check to see if your host provides a staging environment as part of your package. This is often the easiest way to set one up, so it’s worth taking the time to see if this is an option for you.
Some of the best WordPress hosting providers offer staging services. For instance, Siteground includes staging among their premium features. You’ll need their middle-tier GrowBig plan to access it, but it’s highly affordable at just $5.95 per month:
Kinsta is a managed WordPress hosting provider where they take care of all your needs regarding your website. Their speciality is high-traffic websites. You can get started with their Pro plan for $30/month.
Pressable Hosting is another great choice for agencies and developers. The company is owned by Automattic and is best suited to website owners, freelancers and WordPress agencies. Their mid-range basic plan costs $45/month.
All of WP Engine‘s plans include staging options as well. They start at $29 per month:
How you set up your staging environment will depend on your host. Check your provider’s knowledge base or contact support for help. If your plan includes ‘one-click’ staging, you should be able to launch your development area from your account with a single click.
With all of the above-mentioned hosts, you can also push your changes from your staging environment to your live site with the click of a button. When you go through your host, the staging process tends to be quite simple from start to finish.
Creating a Testing Site Manually On Localhost 💻
Some WordPress users choose to manually create test sites that they host locally on their computers. The advantage of this is that you don’t have to change your hosting plan to one that offers staging, or take up server resources to store your staging site.
Unfortunately, a locally hosted site doesn’t work quite the same way as one hosted on a traditional server. This means just because a plugin or other feature works fine on your testing site doesn’t mean it will work on your live site.
With this in mind, a locally hosted testing site is best for developers and designers who want to experiment with WordPress. A staging environment hosted privately on your own computer is the perfect space for tinkering or practicing your skills.
To create one, you’ll need to download two things. The first is XAMPP, a local web server stack:
It’s not the only solution, but is very popular and stable. The second is a copy of WordPress’ Core, which you can get for free: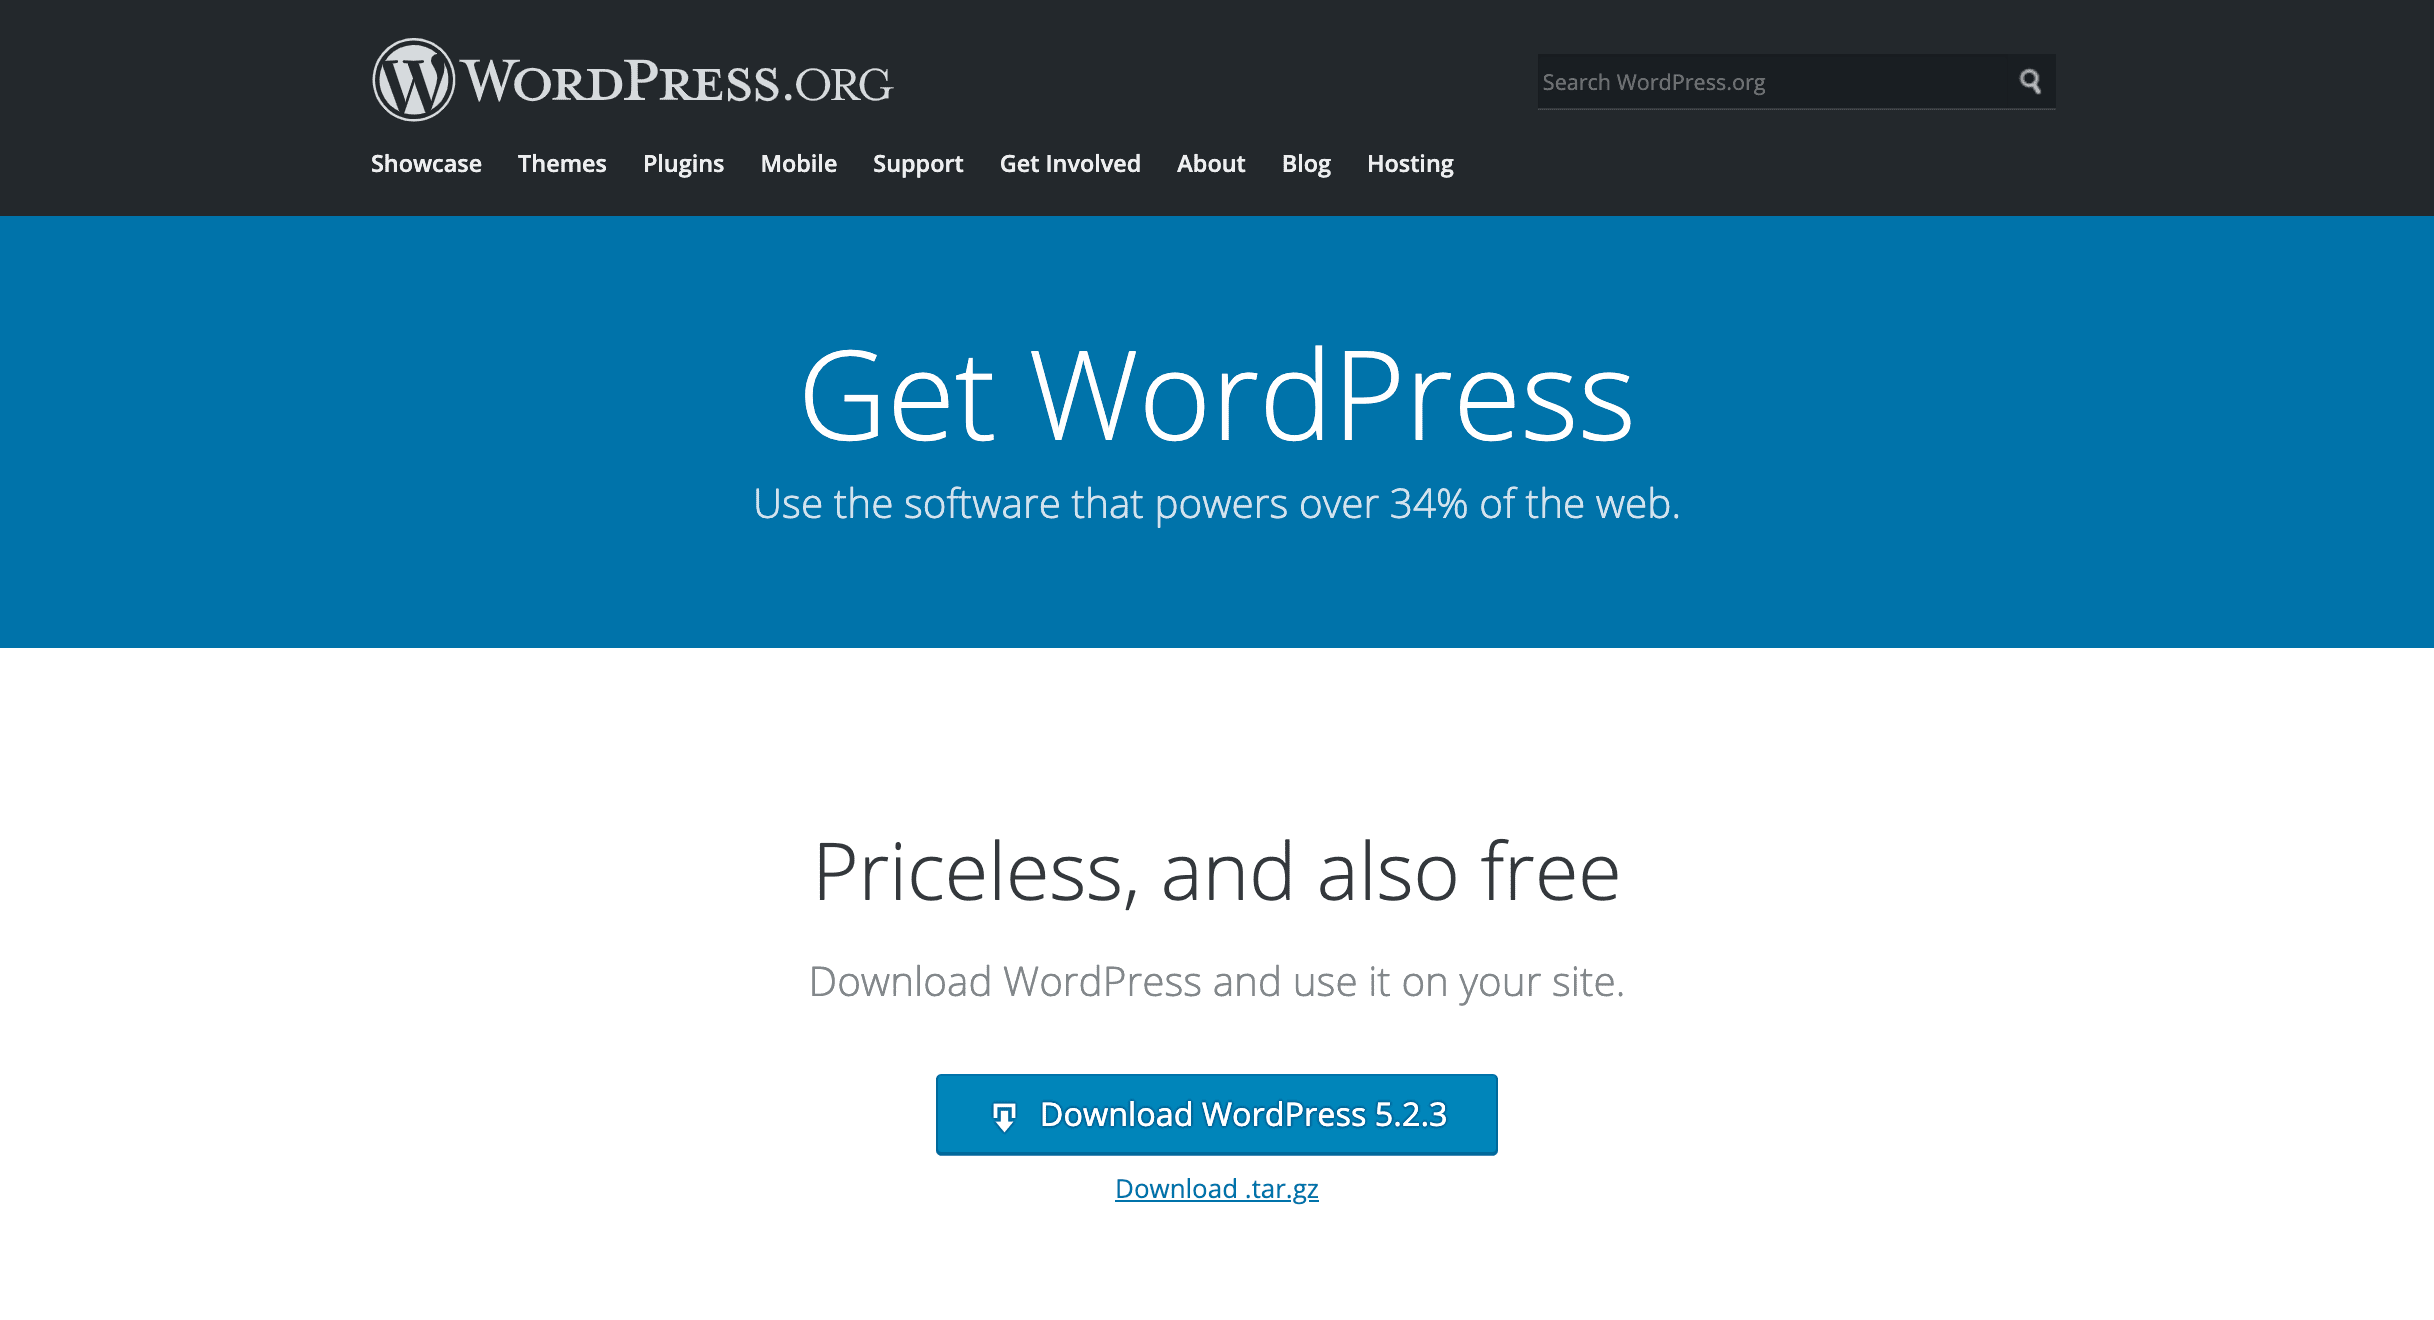
- Install XAMPP.
- Add your WordPress files to the htdocs directory within your XAMPP installation and make note of the folder’s name (the default is wordpress).
- Launch phpMyAdmin from your XAMPP control panel.
- Create a new database.
- Access your local WordPress site by opening your browser and typing in http://localhost/wordpress (if you changed the name of your WordPress installation’s folder, replace wordpress with the name you chose).
- Run the WordPress installer.
If you wish, you can manually export your live site’s files and database and import them to your local site (see the information on migration plugins below to learn how). Reversing the process would hypothetically push changes from your test site to your live site. However, due to the issues we described above, this isn’t recommended.
6 WordPress Staging Plugins for Test Driving Site Updates 🔌
If your host doesn’t provide staging options and a local test site can’t meet your needs, another route is to install a WordPress staging plugin. We’ve compiled a list of six of the top options for you to consider.
1. WP Stagecoach
This plugin pulls out all the stops when it comes to creating WordPress staging environments. With WP Stagecoach, you get a high-quality solution suitable for individual site owners, professional developers and maintenance providers, and even hosting companies looking to provide staging options to their customers.
The staging sites you create with WP Stagecoach are meant to be temporary. Once you’ve accomplished your goal of testing out an update or some other change and pushed your modifications live, the plugin developers recommend you delete your staging environment and create a new one the next time it’s needed.
WP Stagecoach’s impressive list of features includes security, multiple push-to-live options, and simplified set up for an easy-to-use staging site experience. Key benefits include:
- Hosting for staging sites on servers provided by the plugin’s developers, so they don’t take up space on yours.
- One-click, manual, and selective push-to-live options allow for ease of use and advanced tactics.
- Password-protected staging sites enable collaboration with clients or teammates while keeping your works-in-progress private.
- Database merging (as opposed to overwriting) keeps payment gateways, form submissions, and other site activity taking place during a push intact.
- A Revert button enables you to undo a migration if you change your mind and want to backtrack on your changes.
All this can be yours for less than the cost of a WP Engine hosting plan. Licenses for WP Stagecoach start at $120 per year or $12 per month. Help with manual imports comes at an additional cost, which varies depending on your package.
💰Buy WP STAGECOACH FOR $120/year
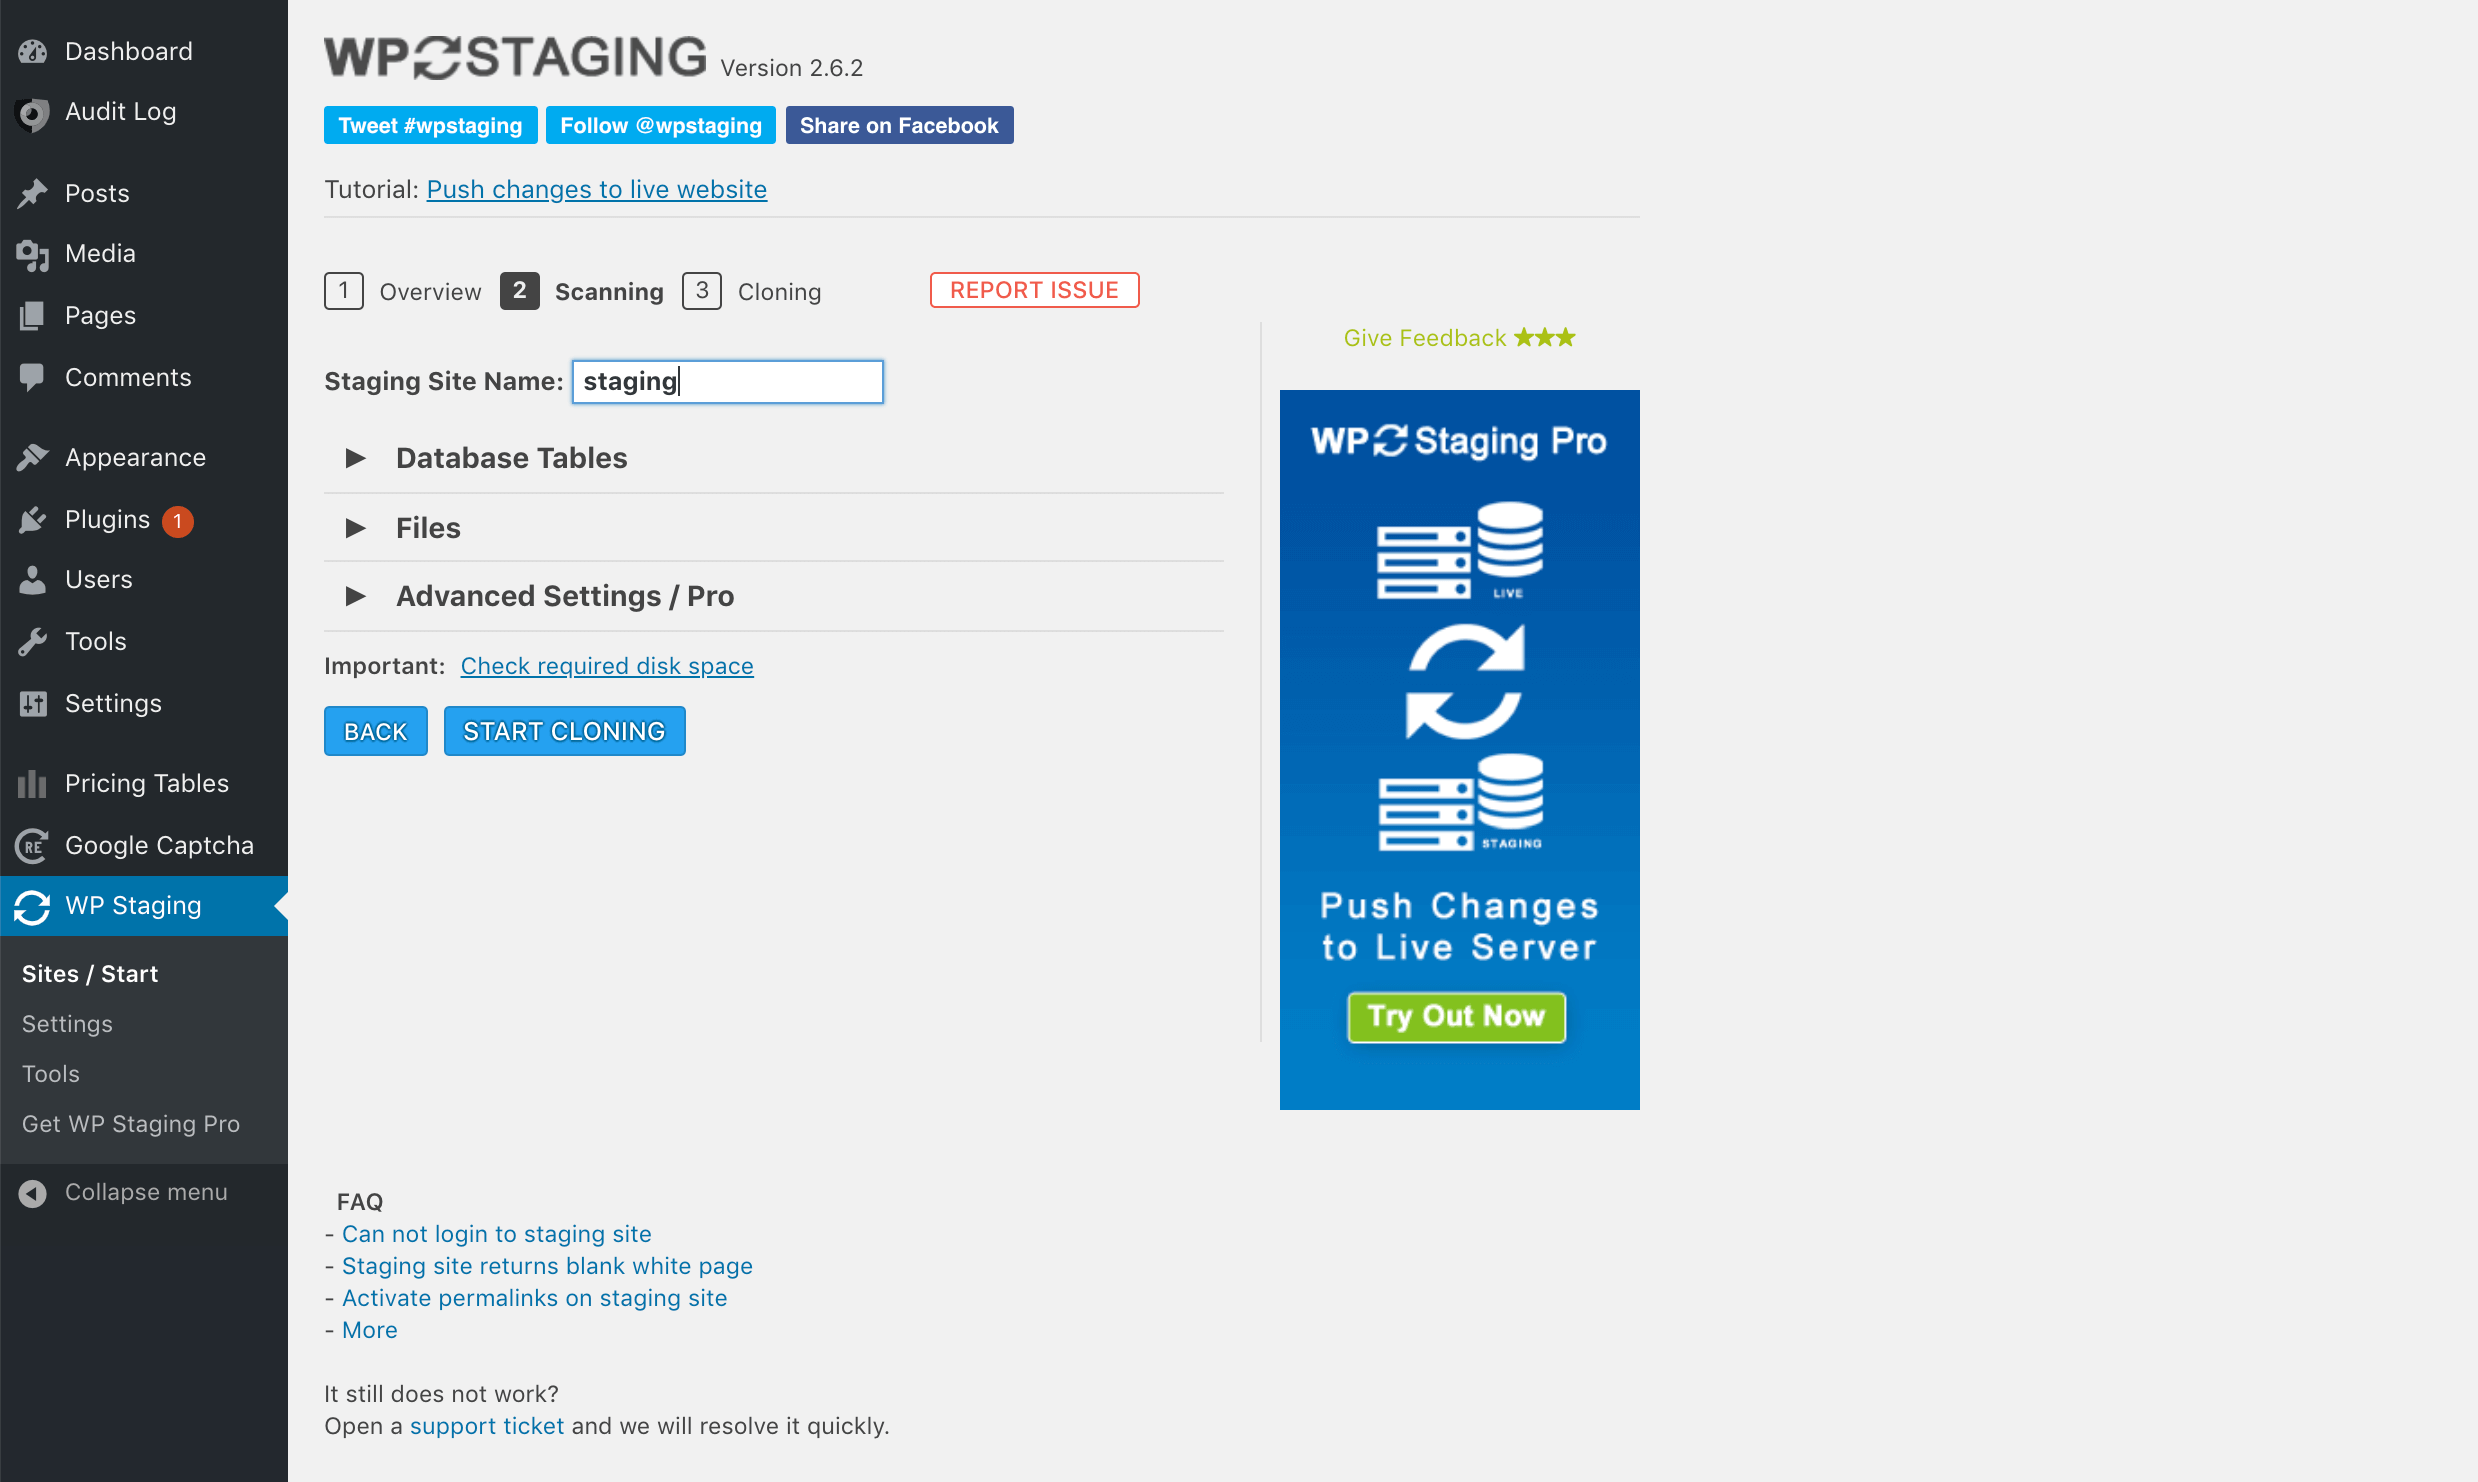
2. WP Staging
While WordPress staging sites are useful for behind-the-scenes purposes, you don’t want visitors looking for your live site to stumble upon them accidentally. This can cause serious confusion for your users, and even potentially damage your brand’s image.
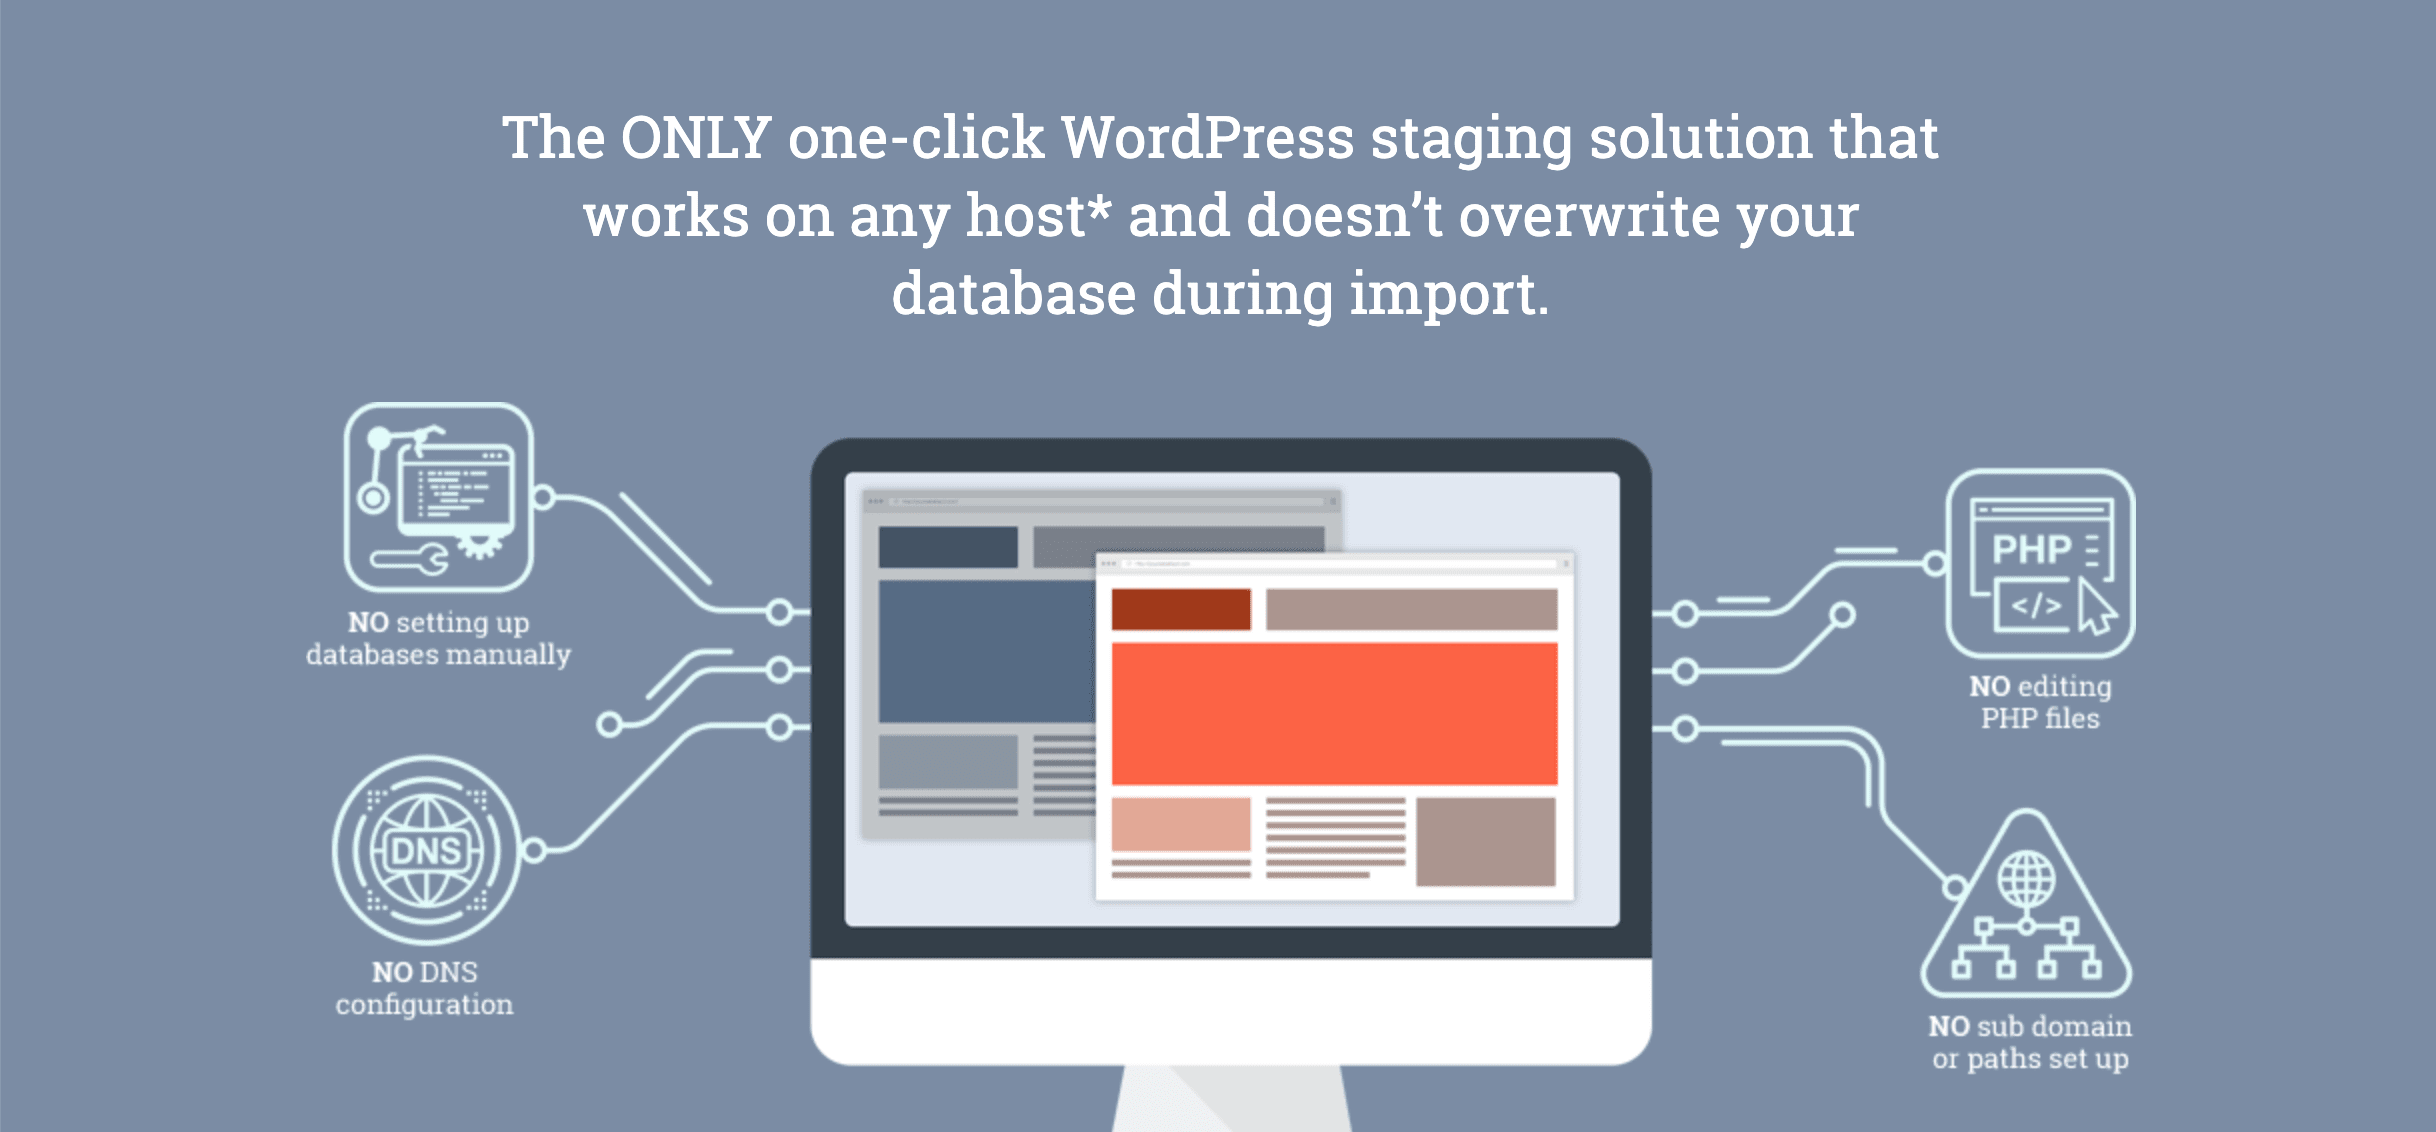
If crawlers index your staging site, it could also become an issue for your Search Engine Optimization (SEO). This is why, ideally, your staging environment will be private and hidden from Google and other platforms like it. Fortunately, WP Staging enables you to create a secure, private WordPress staging environment:
Plus, it has many key features of WordPress staging plugins, which you’re likely now becoming familiar with:
- One-click cloning of your live site makes for a quite and easy setup process.
- Staging sites can be housed on a subdomain (more on those later) or a custom domain.
- Your staging site is visible only to authenticated users and is not publicly available to visitors or search engine bots.
- The selective push-to-live option makes it possible to exclude certain database tables when migrating changes, which is especially important for online stores and other sites with lots of dynamic content.
- Staging sites are housed on your own server, keeping your information out of the hands of third-parties.
While there is a free version of WP Staging available, it doesn’t enable you to push changes to your live site. If you want to do much more than test plugin updates, this isn’t very useful. WP Staging Pro starts at $98 per year and includes all the features listed above.
3. BlogVault
BlogVault provides a wide range of related services for WordPress. In addition to creating site backups, it includes free staging as well as management tools for professionals. It’s a perfectly acceptable solution for bloggers, business owners, freelance developers, and even agencies.
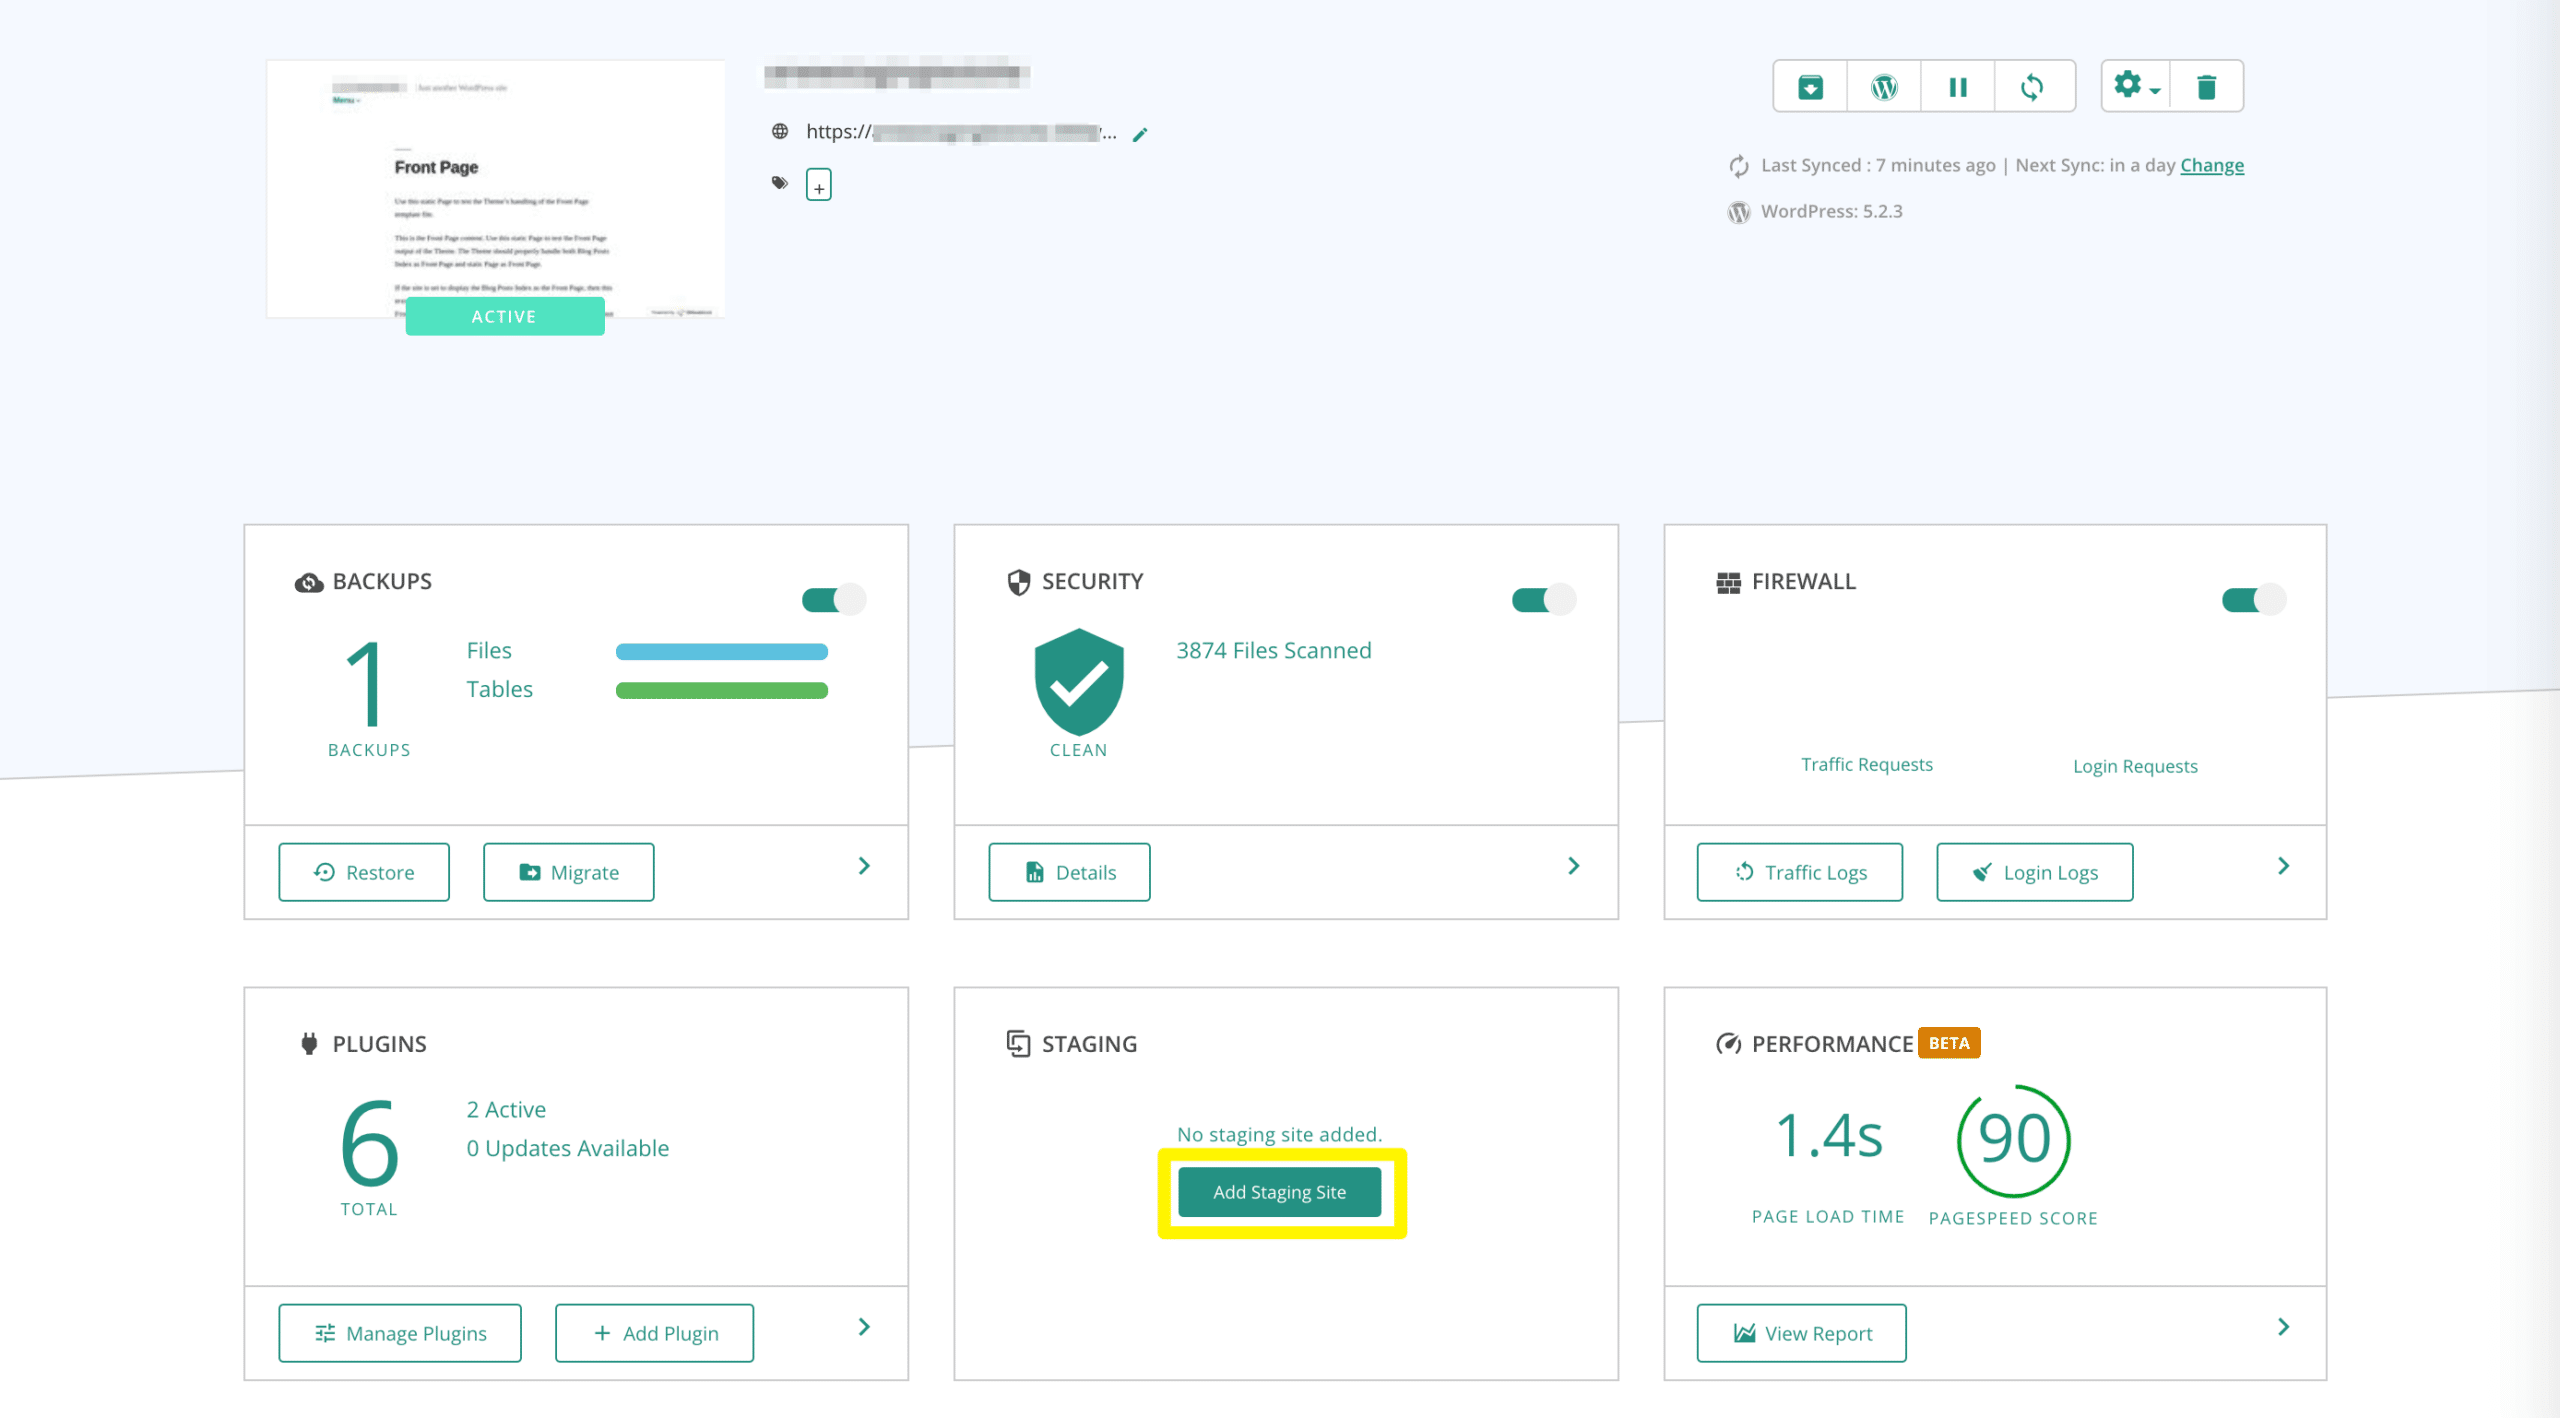
Choosing plugins that can multitask means less upkeep for your site. So, if you’re on the hunt for a backup tool in addition to a way to create WordPress staging sites, this may be the way to go. You can monitor it all from your BlogVault dashboard:
Some key features this plugin provides include:
- Free off-site storage on BlogVault servers for all your staging sites so they won’t impact your live site’s performance
- Supports use on multiple sites across multiple hosts so you can manage all your client site’s flawlessly
- Password protection to prevent stray users from wandering into your development environment and Google de-indexing for SEO
- Two-click selective or full database merging to easily push your changes live without issue
- Large website support so that even expansive online properties can test drive updates and other modifications without fear of errors
This plugin’s staging features are 100 percent free, making it a highly affordable solution, especially considering its ease of use and the benefits of off-site storage. Even so, BlogVault Pro has some handy features including automated daily backups and white-labeling.
If you manage client sites, it may be worth the upgrade. Licenses start at $89 per year or just $7.40 per month. Staging goes a long way to protect your site, but a solid backup system is vital to your site’s longevity as well.
4. WP Time Capsule
Another backup-focused plugin with staging capabilities, WP Time Capsule, offers an alternative to BlogVault. Its incremental backup system saves storage space, while also making sure you always have a copy of the latest version of your site by saving your changes in real time.
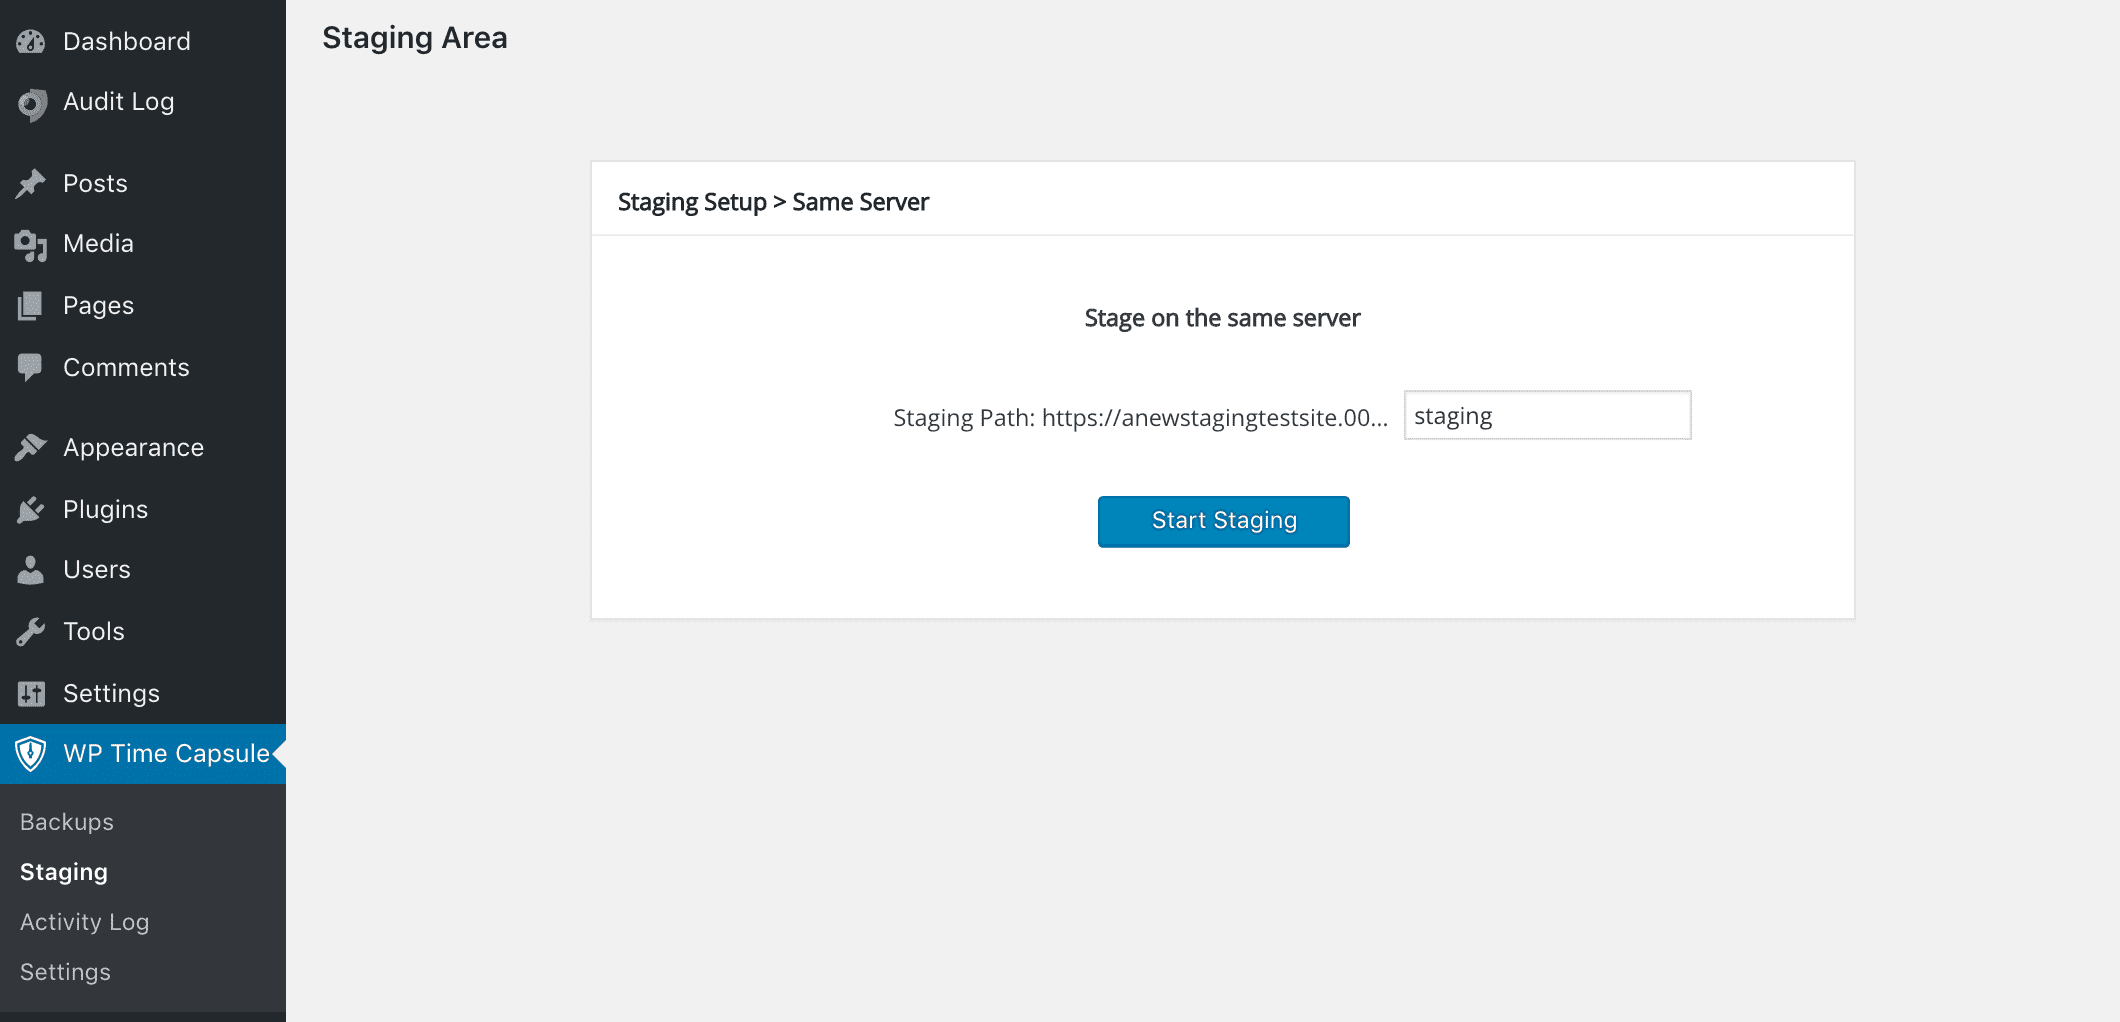
Of course, the part of this plugin you’re probably most interested in at the moment is its staging functionality. It’s quite simple and easy to use. Once you install the plugin, just navigate to WP Time Capsule > Staging and click on the Start Staging button:
In addition to its fast one-click setup process, your WP Time Capsule staging environment enables you to:
- Update plugins and themes in your WordPress staging environment from the back end of your live site with one click
- Restore a backup made with WP Time Capsule to your WordPress staging environment from the back end of your live site with one click
- Copy changes made to your staging area over to your live site with one click
- Require administrator login to access to your staging site, protecting it from visitors and search engines
- Include or exclude specific files and database tables to selectively push changes live
While a free version of WP Time Capsule is listed in the WordPress Plugin Directory, it’s only good for a 30-day trial period. After, you’ll need to sign up for a paid plan. Options start at $49 per year, although professionals may want to consider the $199 per year agency package to access white-labeling.
💰BUY WP TIME CAPSULE FOR $49/year
Using a WordPress Migration Plugin to Create a Staging Subdomain ➡️
If none of the options above appeal to you, another route is to create a staging environment on a subdomain with a WordPress migration plugin. This method is much more hands-on and includes more room for error, so back up your site beforehand and tread lightly.
Subdomains enable you to create a separate part of your site that’s still under your primary domain name and stored on your site’s server. The process for manually setting one up varies slightly from host to host. You’ll likely find steps for doing so in your provider’s knowledge base.
Once your subdomain is up, you’ll need to export the files and database from your live site and import them into your staging area. The easiest way to do so is with a migration plugin, such as the two below.
5. Duplicator
If this is the route you wish to take, you may want to consider using one of the most popular migration plugins, Duplicator. Since migration plugins aren’t ‘true’ WordPress staging plugins, you’ll need to run yours to create a copy of your site and move it every time you want to test a plugin or other feature.
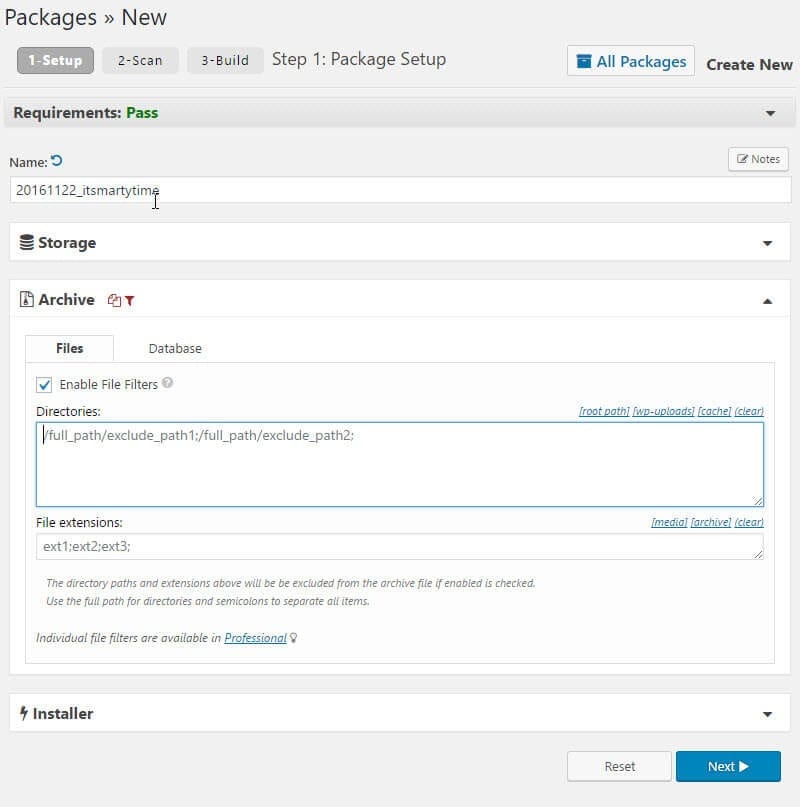
Fortunately, Duplicator is very easy to use. If you do find yourself in a position where manually creating staging sites is your best option, this plugin can help you package your files with just a few clicks:
The free version of Duplicator should work just fine for this purpose, especially for smaller sites. However, if your site is more extensive, you may want to invest in Duplicator Pro. It also provides access to support and Multisite migration. Plans start at $59 per year.
💰BUY DUPLICATOR PRO FOR $59/year
6. All-in-One WP Migration
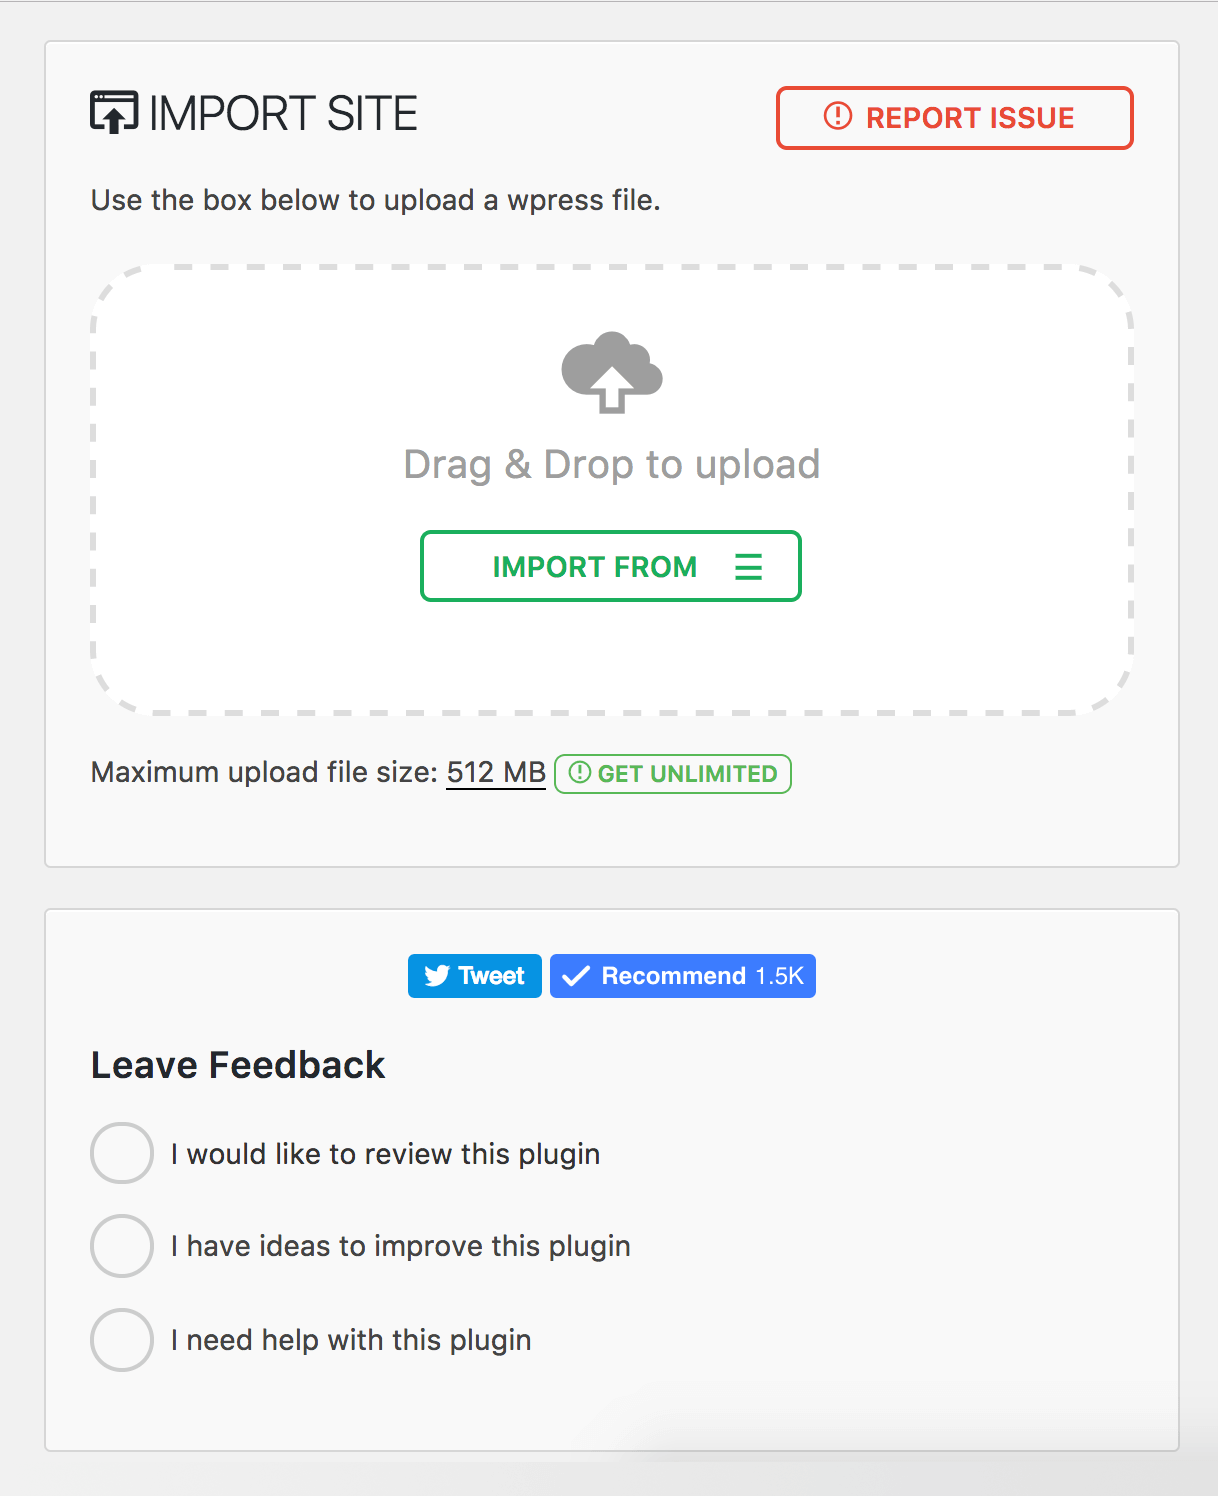
Alternatively, All-in-One WP Migration is another quality option. It has a simple interface that’s easy to pick up on, with checkboxes for selecting content to exclude and a drag-and-drop importer:
Plus, All-in-One WP Migration is completely free. If you’re not afraid of the process of moving copies of your site back and forth and aren’t put off by having to migrate your content every time you want to stage something, this is definitely one of the most affordable routes you can take to create a WordPress staging environment.
💰Get All-In-One WP Migration for FREE
WordPress Multisite Staging 🌐
Running an entire WordPress network presents even more opportunities for errors and other mishaps on your sites. Fortunately, Multisite staging is an option.
[bctt tweet=”🌐 Creating Multisite staging environments is surprisingly similar to the process of setting them up for single-site installations. #WordPress” username=”thewpbuffs”]
The most important difference to consider is that Multisite staging can’t be hosted on a subdomain. You’ll need a custom domain in order to keep the copy of your network organized properly, which will be important to keep in mind when choosing the staging method to use.
Your first option is to see if your hosting provider supports Multisite staging. Obviously, if your host doesn’t offer single-site staging, this won’t be an option. Of the companies we mentioned earlier in this post, WP Engine is the only one that supports Multisite staging.
Fortunately, two of the four true WordPress staging plugins we explored above can be used to create a test or development environment for your network. WP Staging Pro and BlogVault both support Multisite staging. Choosing one of them will likely be the simplest way to accomplish this goal.
Finally, migration plugins such as Duplicator and All-in-One WP Migration can be used to create staging sites for Multisite installations. However, as we said before, you’ll need to import your copy to a custom domain, rather than a subdomain.
WordPress Staging Methods Compared 📊
We’ve covered a lot of information about WordPress staging environments and the different ways you can create them. If you’re feeling a little overwhelmed with options, here’s a quick breakdown of what each method has to offer:
| Host Provided Staging Option | XAMPP | WordPress Staging Plugin | WordPress Migration Plugin with Subdomain | |
|---|---|---|---|---|
| Push-to-Live Options | Varies, but most that provide staging have a one-click push option. | Manual migration required. | One-click, manual, and selective push-to-live options. | Requires you to migrate files and database, but provides help via the plugin. |
| Privacy | If the staging area is on a subdomain, it may not be 100 percent private. | No one can see your staging site unless they’re logged onto your computer. | Password-protected staging enables you to share your environment with others while keeping random visitors out. | Subdomains are publicly accessible. Steps may be taken to discourage search engines from displaying them. |
| Price | Can cost about $72–$348 per year. | Free. | Free–$120 per year and up. | Free–$59 per year and up. |
| Multisite staging | Varies. | Yes. | Varies. | Yes. |
For the majority of users, true WordPress staging plugins provide the best of all worlds. You can capitalize on ease of use while still keeping your staging environment private. The range of pricing options makes these tools available to anyone regardless of budget, too.
Wrapping Up ⌛
WordPress staging environments are invaluable to developers and beginning WordPress users alike. They provide a safe place to test out and update your plugins and themes without fear of errors, enabling you to keep your site’s visitors at ease while you deal with any issues behind the scenes.
If your hosting provider doesn’t offer staging as part of your plan, consider trying one of these top-notch WordPress staging plugins:
Another way to manage your site’s updates and keep your site up and running smoothly is to invest in a WordPress maintenance plan. At WP Buffs, we’ll keep your site up-to-date and make sure it’s always error-free.
If you still want to create a WordPress staging environment, we can help with that, too. Our advanced support team is ready to answer any questions you have, no matter which method you choose.
Want to give your feedback or join the conversation? Add your comments 🐦 on Twitter.


